Snowflake Prerequisites


Configure user details
Create a Snowflake user with the USERADMIN role for Infisical
Infisical requires a Snowflake user in your account with the USERADMIN role.
This user will act as a service account for Infisical and facilitate the
creation of new users as needed.
Create a network policy
Programmatic Access Tokens require an attached network policy that defines the IPs allowed to authenticate as this user. Select the Projects tab and click on Workspaces to open the query editor, then paste the following snippet.
Generate a Programmatic Access Token
Select the Governance & Security tab and click on Users & roles. Then select the user you created in the previous step. Open the Programmatic access tokens tab and click Generate new token. Give the token a descriptive name and configure its expiration. Set the role restriction to USERADMIN.

Open the Programmatic access tokens tab and click Generate new token. Give the token a descriptive name and configure its expiration. Set the role restriction to USERADMIN.Copy the Token
Copy the generated token. Snowflake only displays it once, so store it somewhere secure for the next step.

Set up Dynamic Secrets with Snowflake
Open the Secret Overview Dashboard
Open the Secret Overview dashboard and select the environment in which you would like to add a dynamic secret.

Provide the required parameters for the Snowflake dynamic secret
The name you want to reference this secret by
Default time-to-live for a generated secret (it is possible to modify this value when generating a secret)
Maximum time-to-live for a generated secret
Snowflake account identifier
Snowflake organization identifier
Username of the Infisical service user
Programmatic Access Token (PAT) of the Infisical service user used to authenticate with Snowflake

(Optional) Modify SQL Statements

Specifies a template for generating usernames. This field allows customization of how usernames are automatically created.Allowed template variables are:
{{randomUsername}}: Random username string.{{unixTimestamp}}: Current Unix timestamp at the time of lease creation.{{identity.name}}: Name of the identity that is generating the lease.{{dynamicSecret.name}}: Name of the associated dynamic secret.{{dynamicSecret.type}}: Type of the associated dynamic secret.{{random N}}: Random string of N characters.
truncate: Truncates a string to a specified length.replace: Replaces a substring with another value.uppercase: Converts a string to uppercase.lowercase: Converts a string to lowercase.
If you want to provide specific privileges for the generated dynamic credentials, you can modify the SQL
statement to your needs.
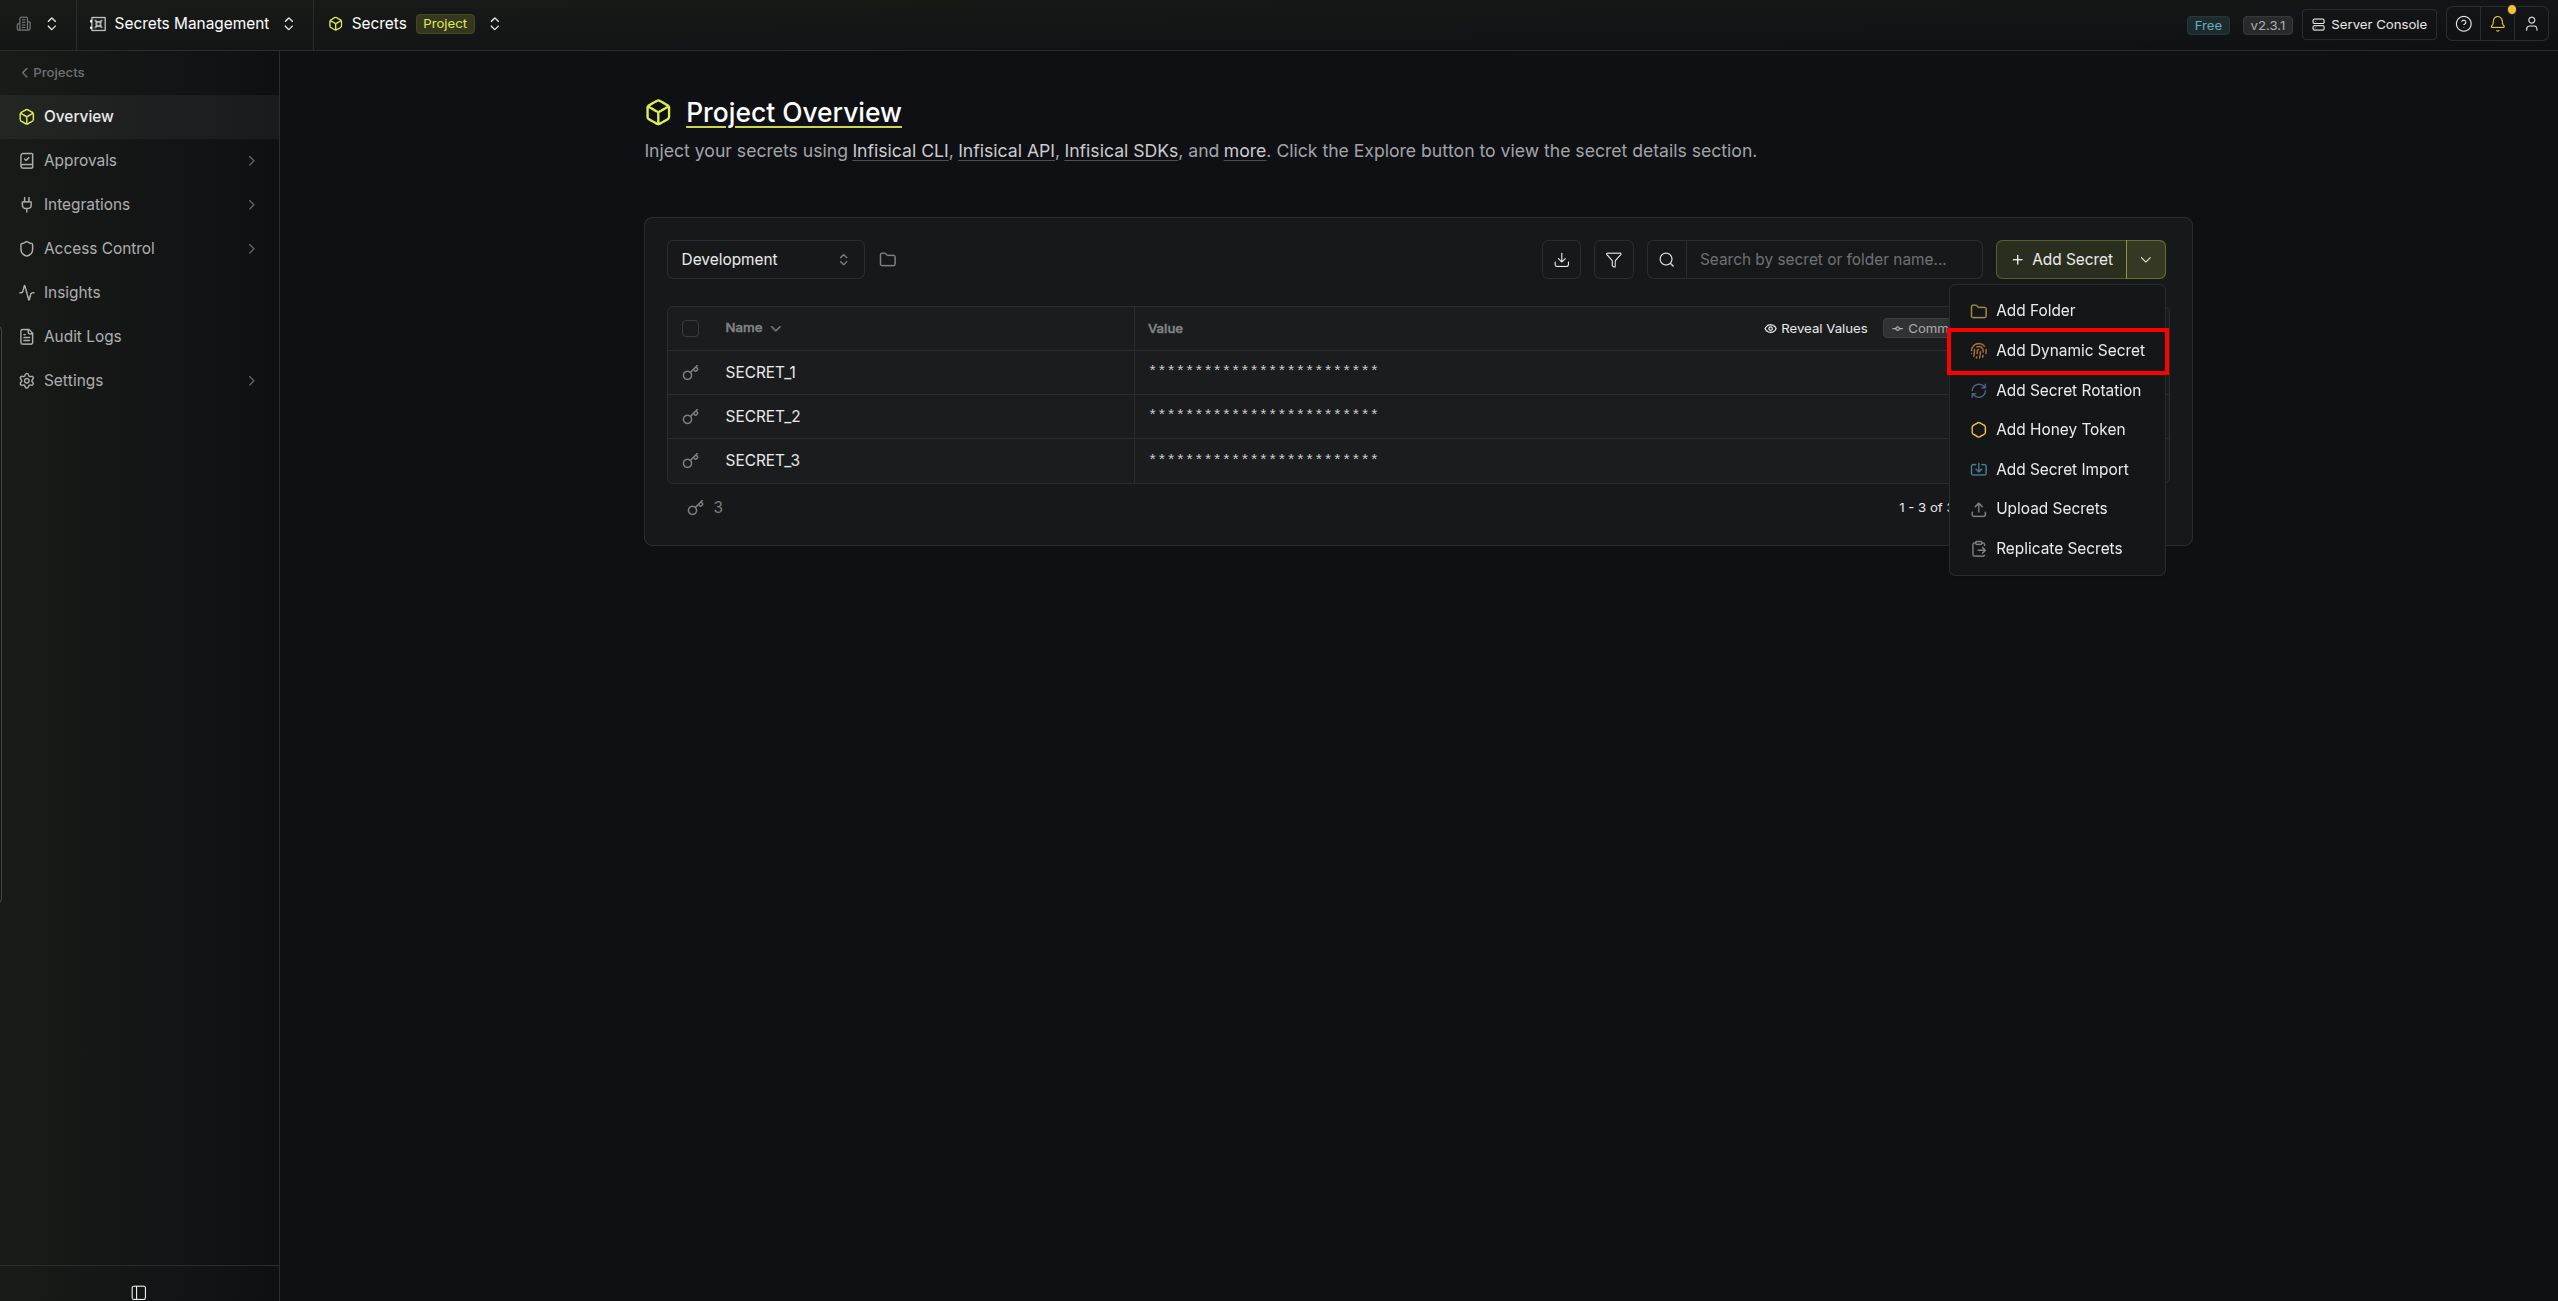
Generate dynamic secrets
Once you’ve successfully configured the dynamic secret, you’re ready to generate on-demand credentials.
To do this, simply click on the ‘Generate’ button which appears when hovering over the dynamic secret item.
Alternatively, you can initiate the creation of a new lease by selecting ‘New Lease’ from the dynamic secret
lease list section.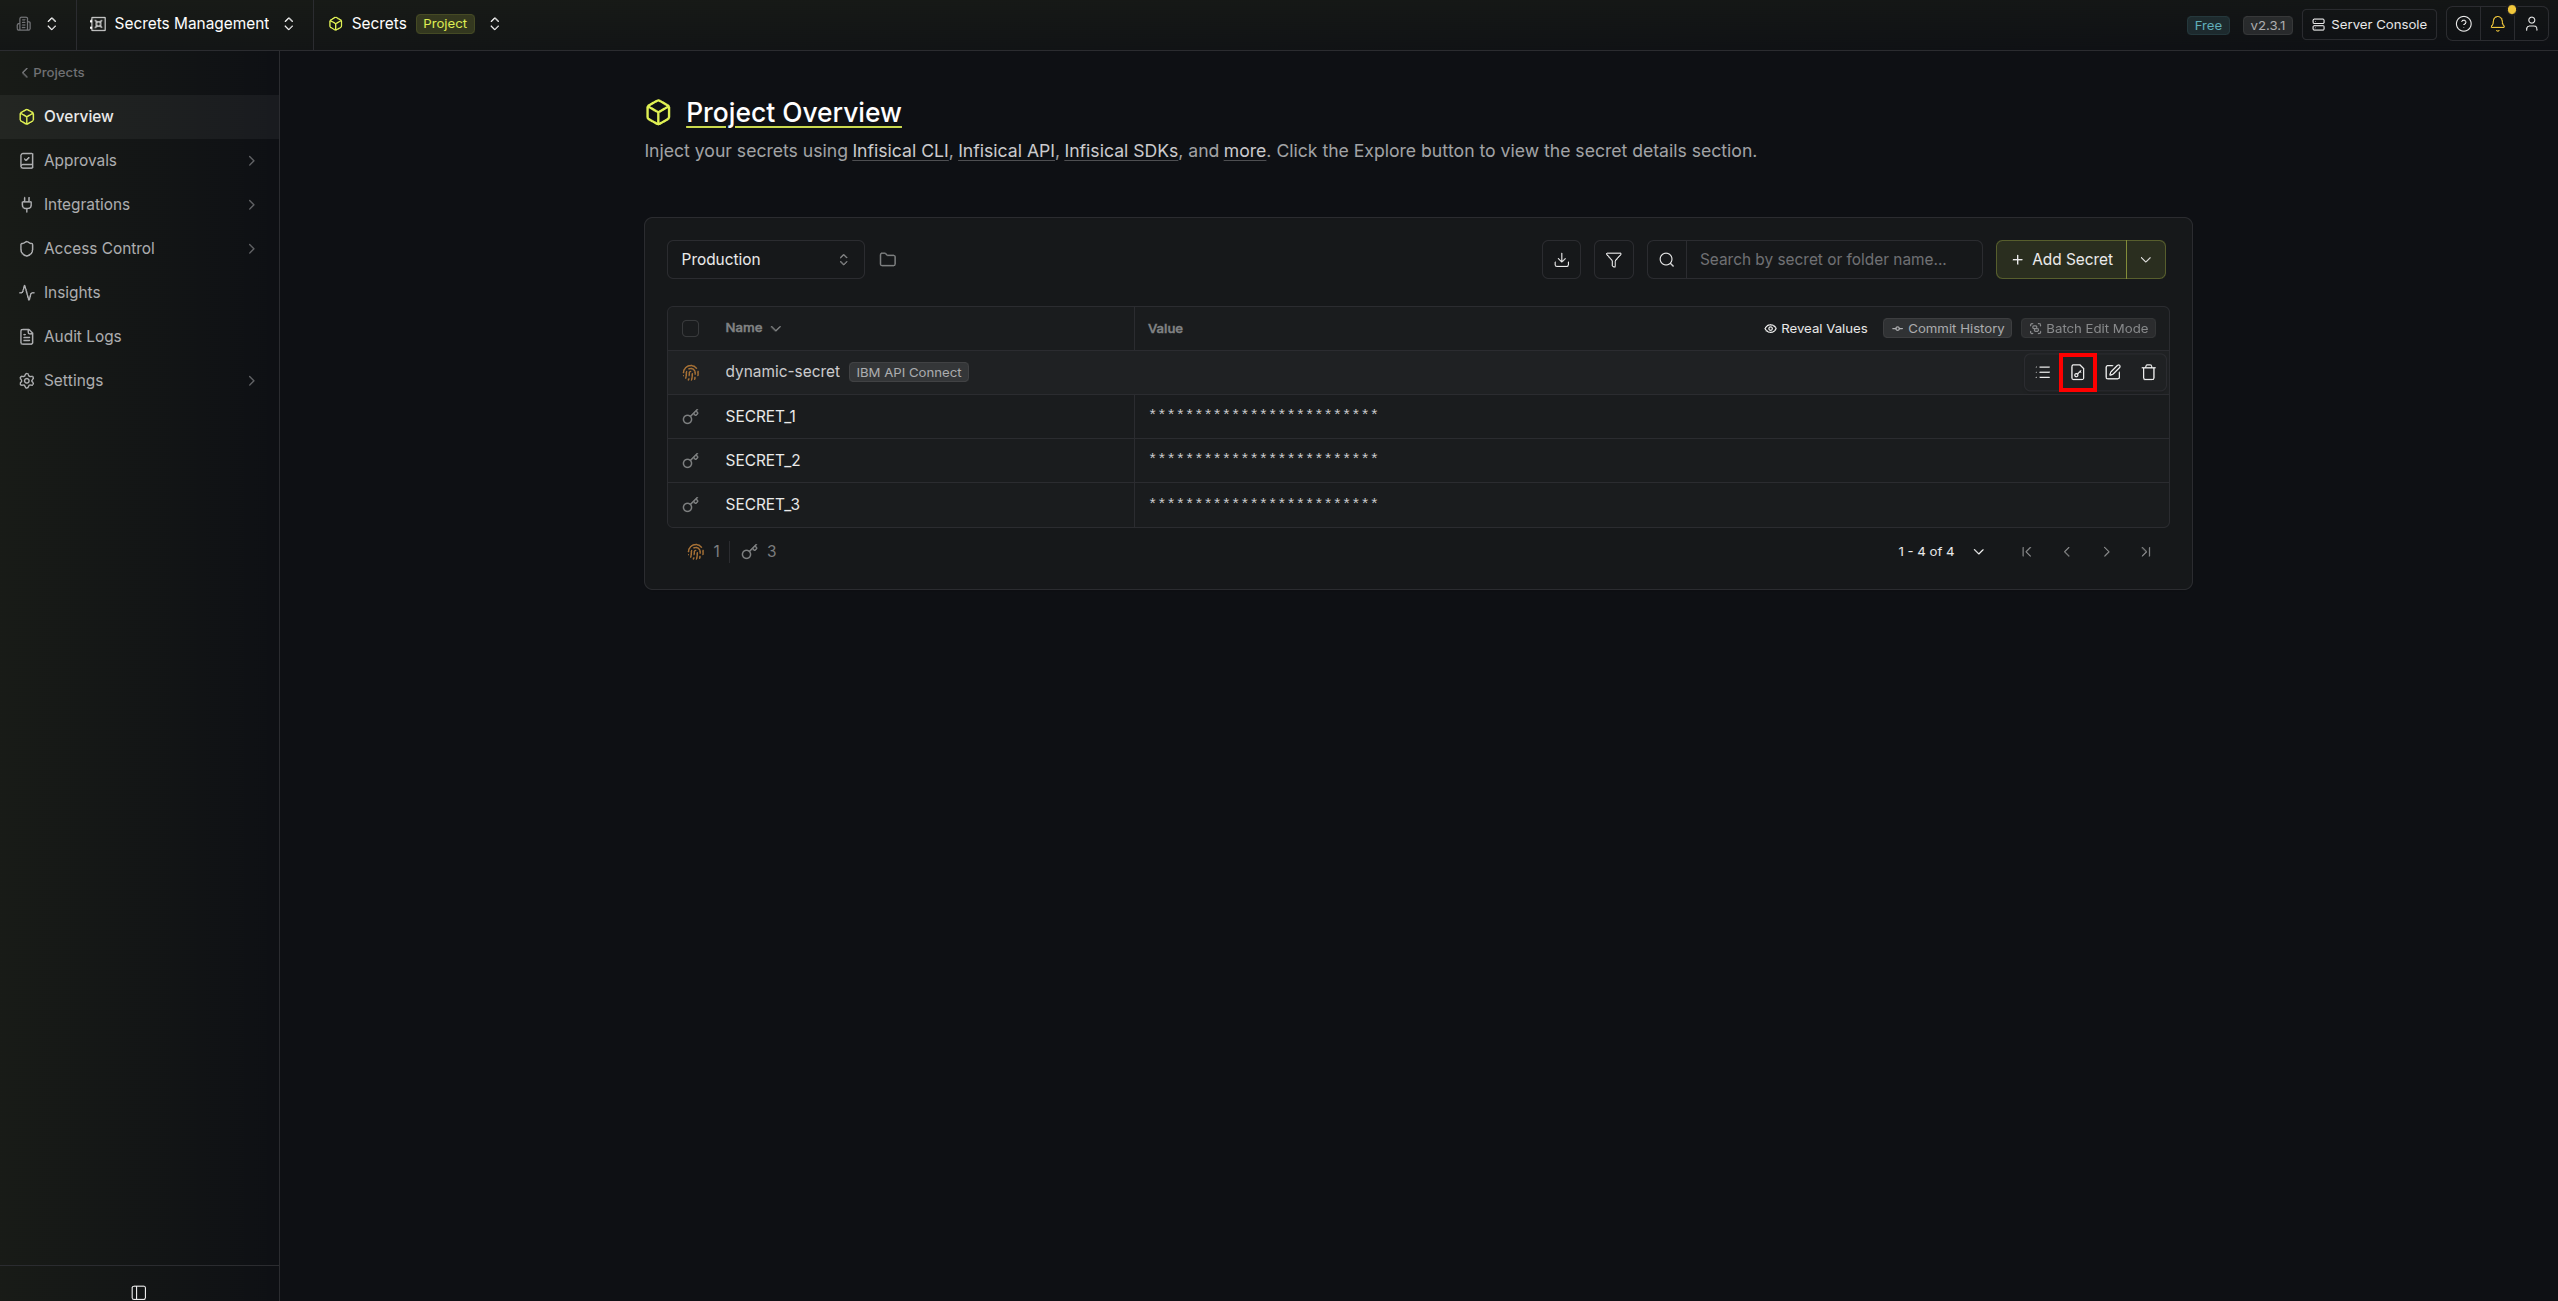
 When generating these secrets, it’s important to specify a Time-to-Live (TTL) duration. This will dictate how
long the credentials are valid for.
When generating these secrets, it’s important to specify a Time-to-Live (TTL) duration. This will dictate how
long the credentials are valid for.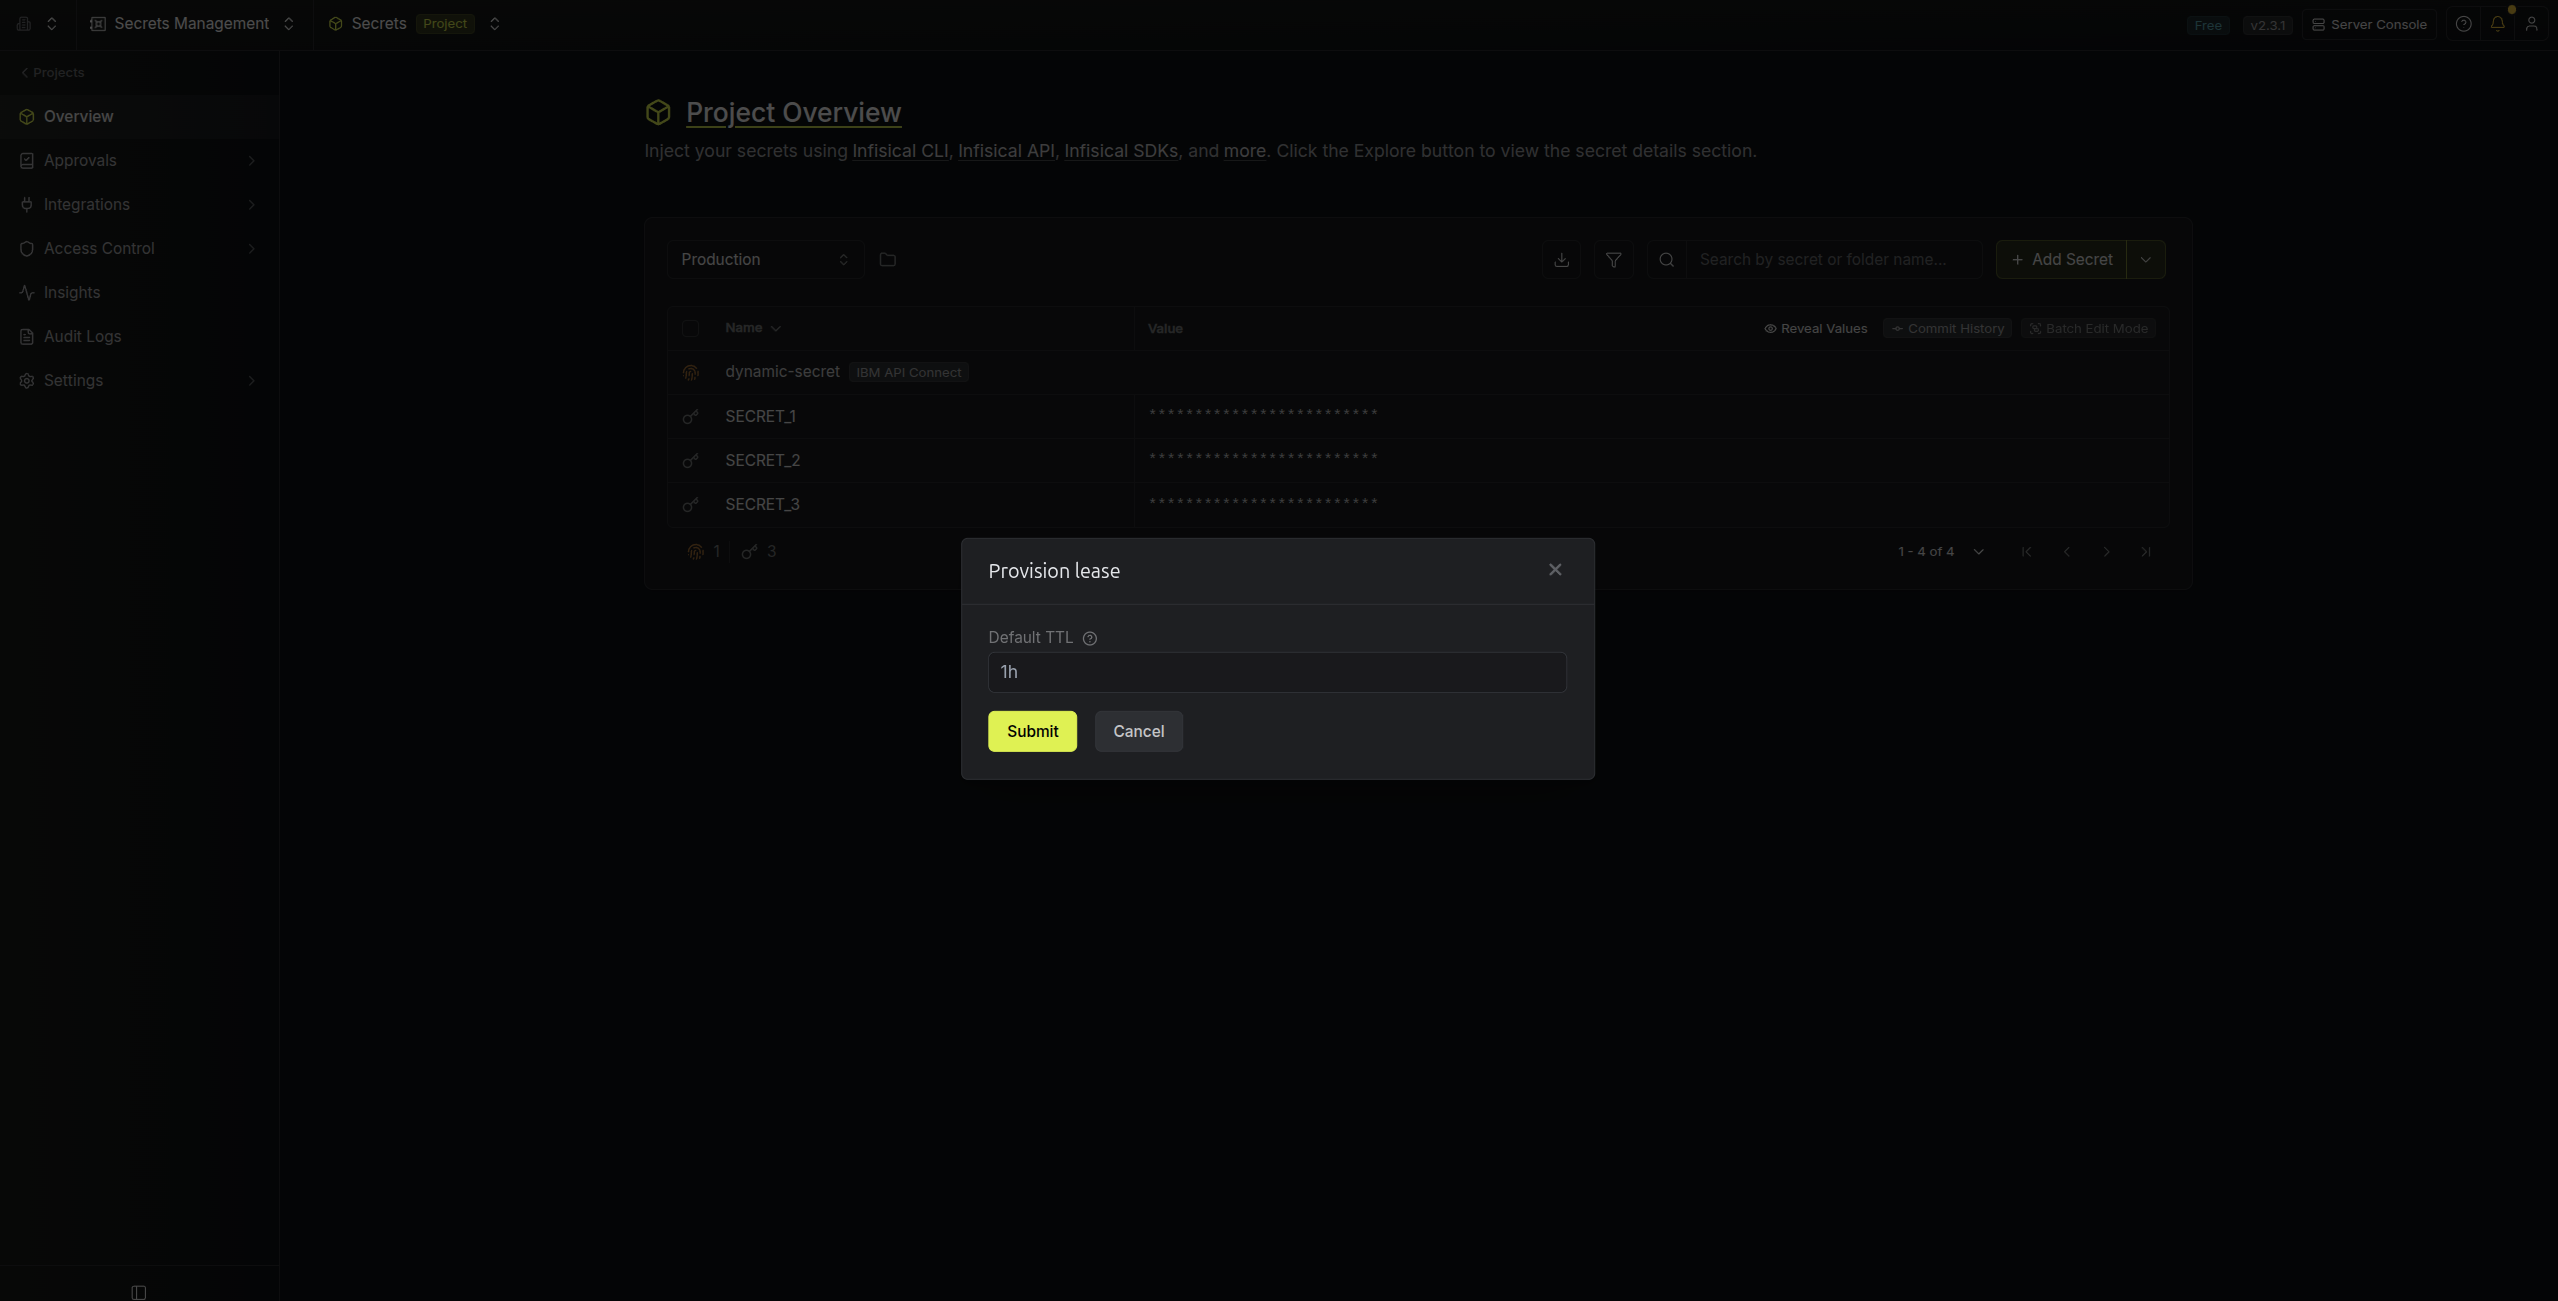 Once you click the
When generating these secrets, it’s important to specify a Time-to-Live (TTL) duration. This will dictate how
long the credentials are valid for.Once you click the Submit button, a new secret lease will be generated and the credentials for it will be
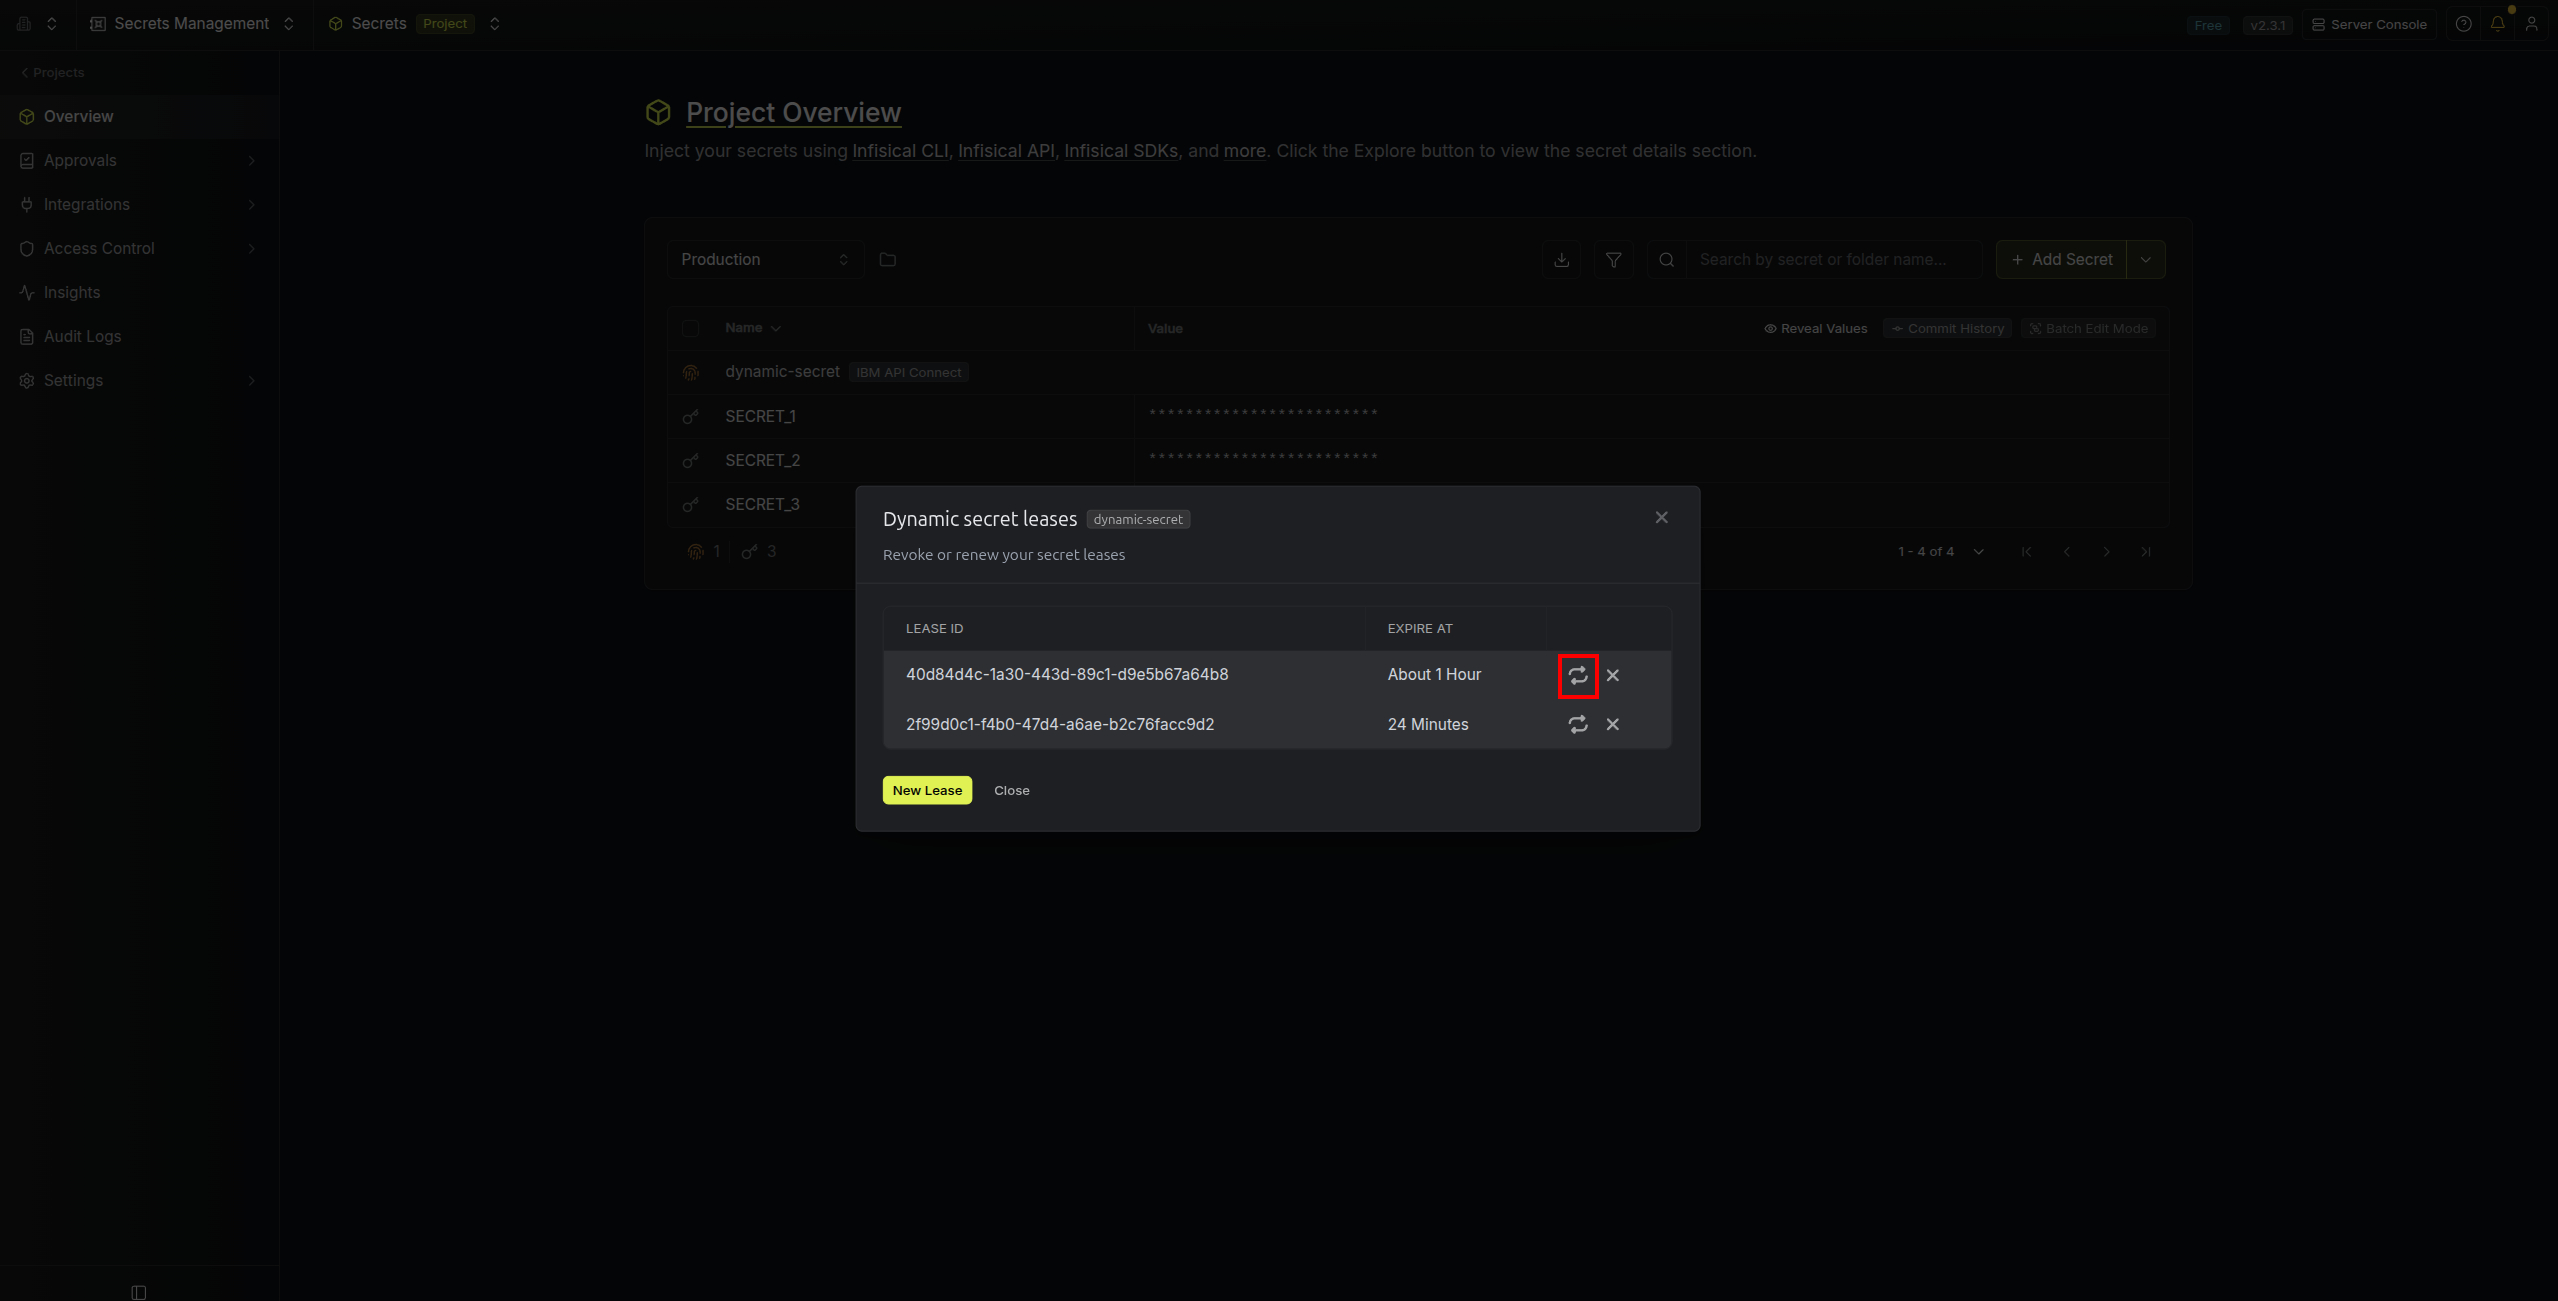
shown to you.Audit or Revoke Leases
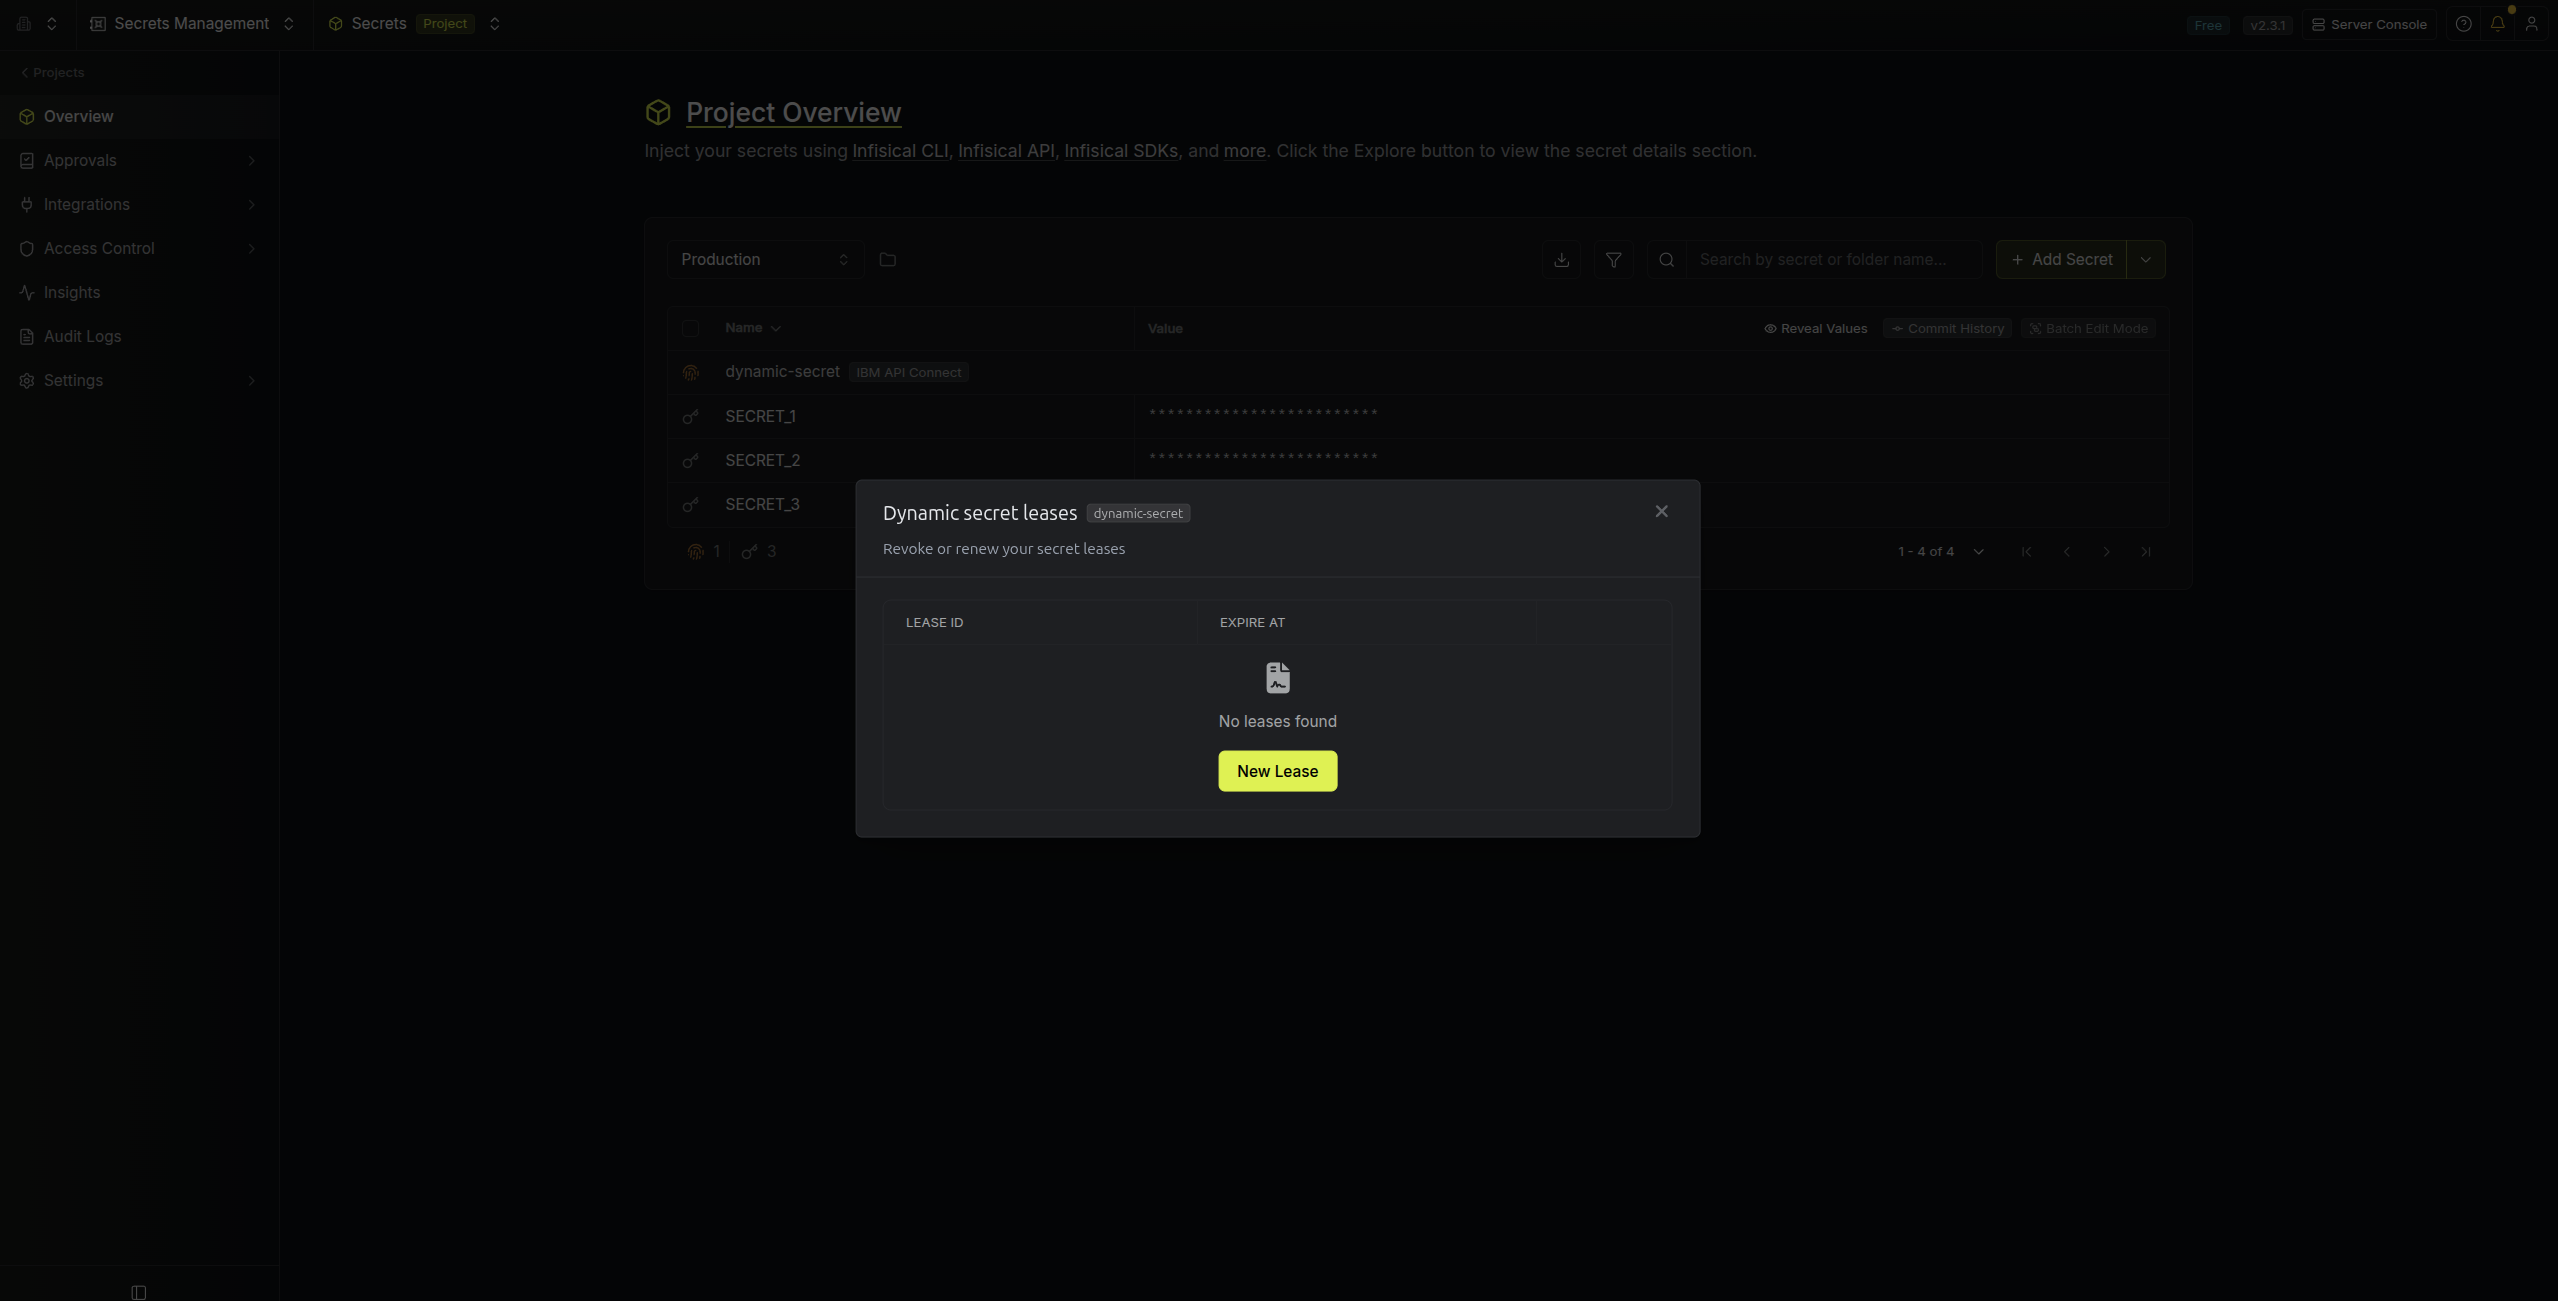
Once you have created one or more leases, you will be able to access them by clicking on the respective dynamic secret item on the dashboard. This will allow you to see the lease details and delete the lease ahead of its expiration time.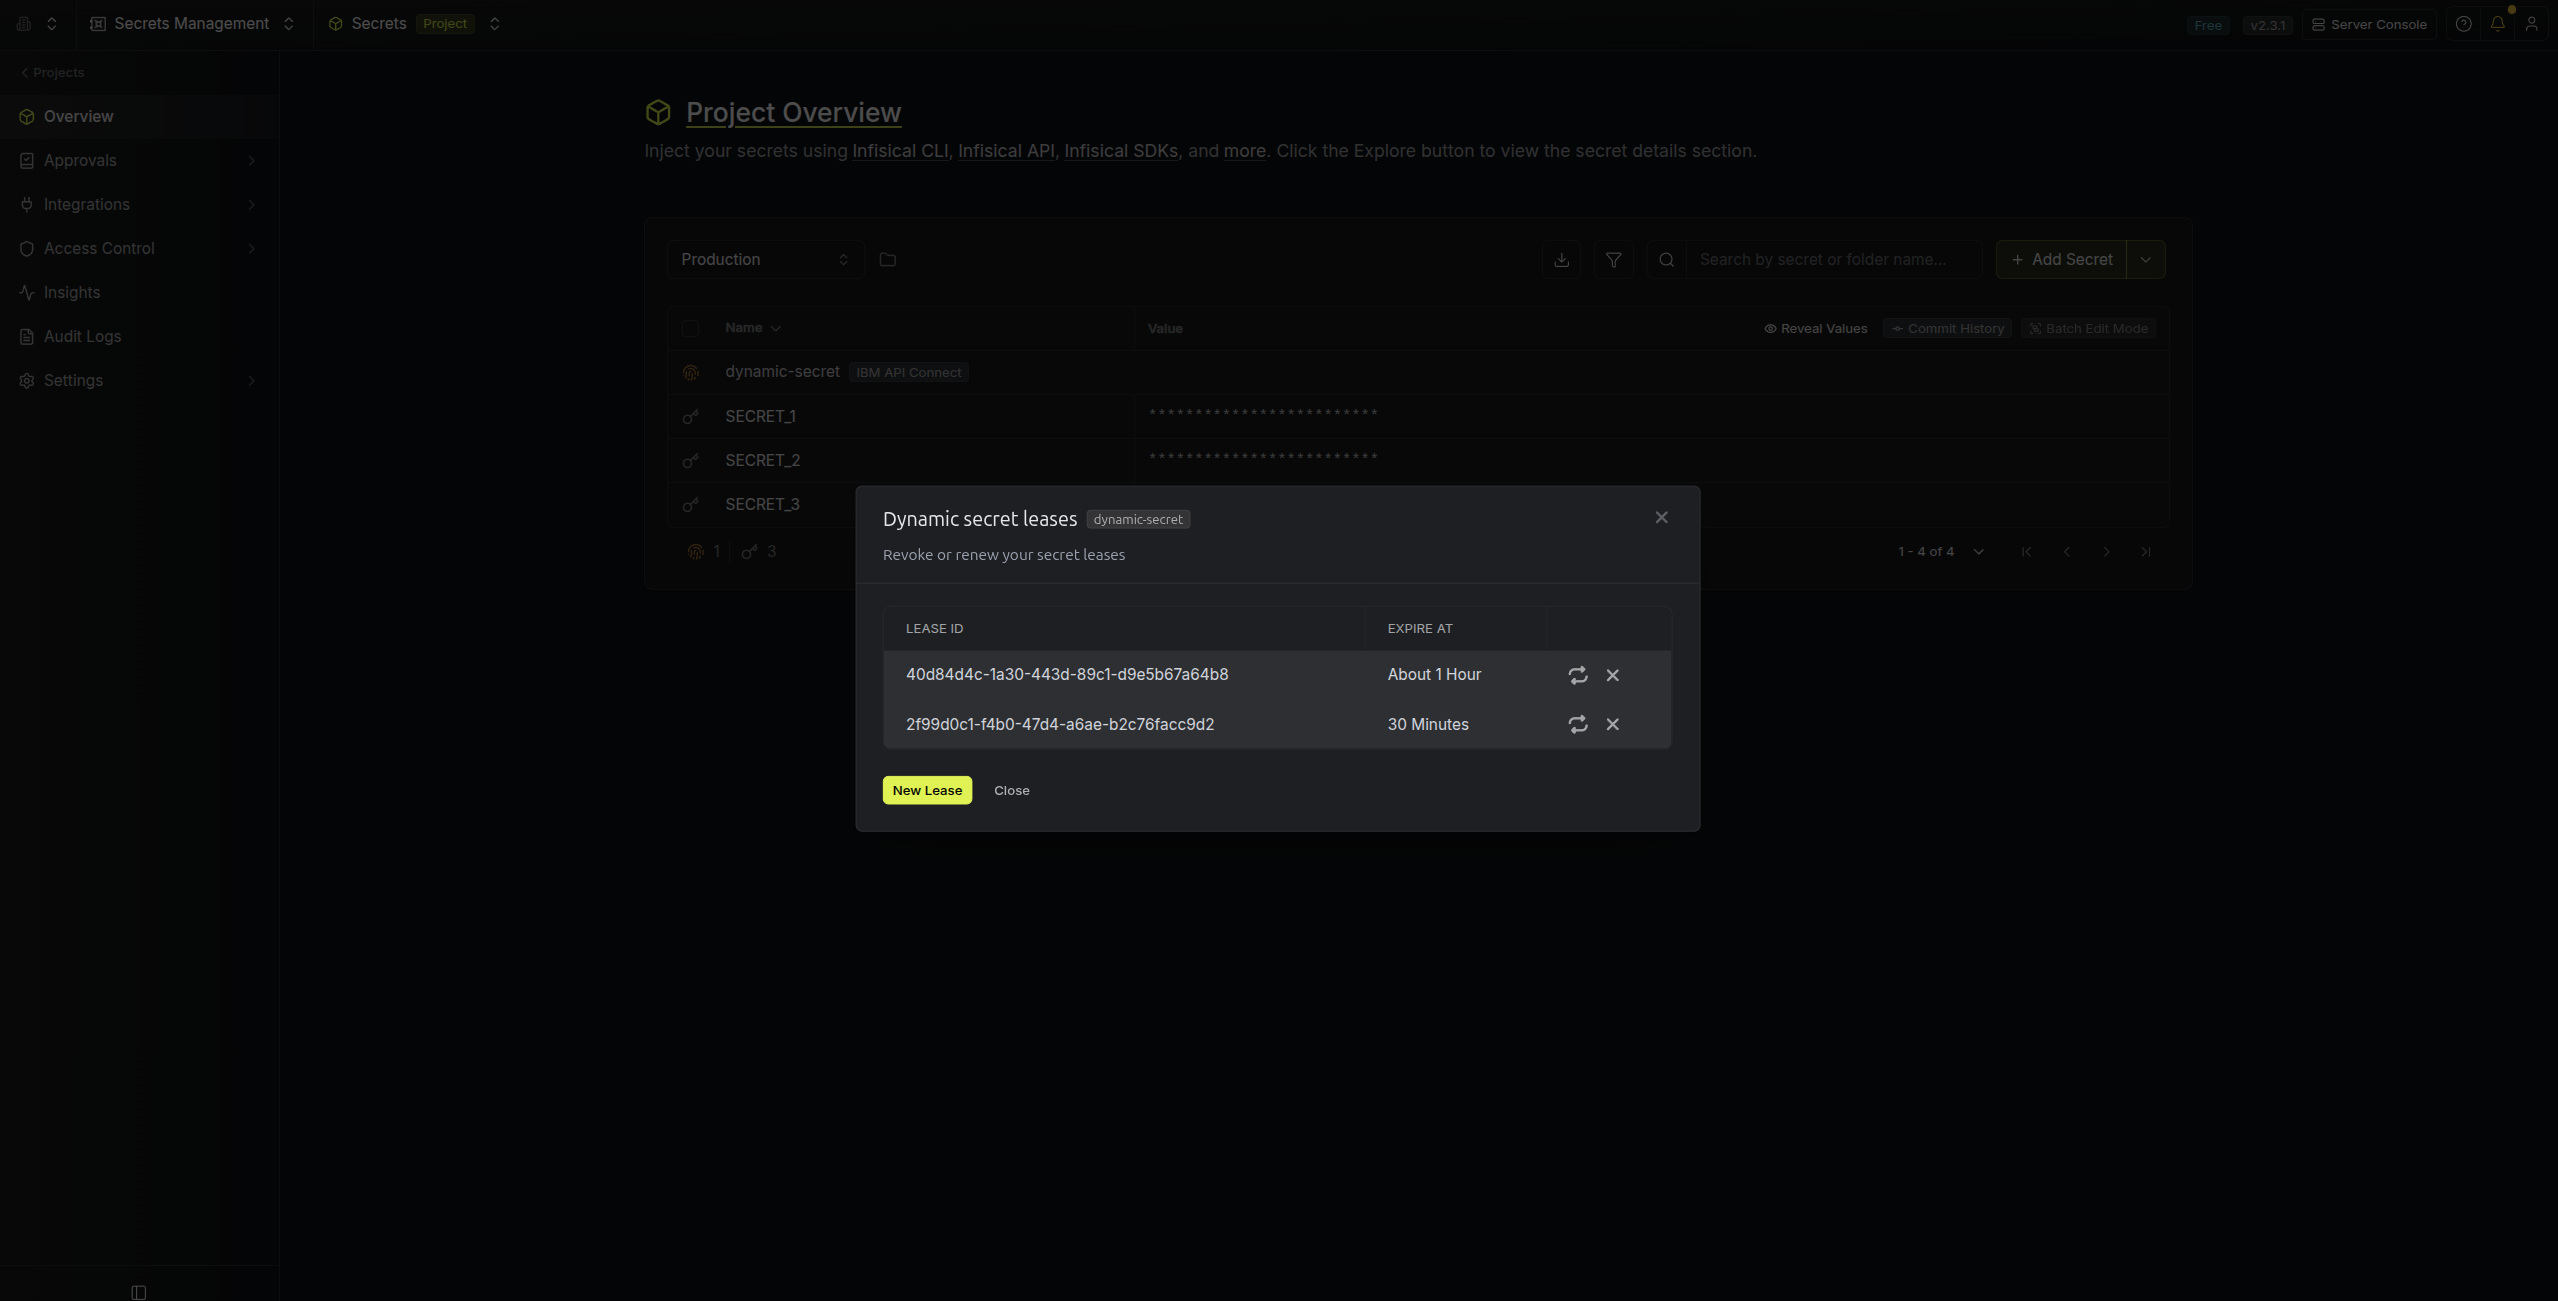
Renew Leases
To extend the life of the generated dynamic secret lease past its initial time to live, simply click on the Renew button as illustrated below.